Audio streaming now accounts for nearly half of music revenue worldwide and has quickly become the # 1-way people consume and discover new music. According to Nielsen’s Year-End Music Report, Americans streamed a record of more than 900 billion songs in 2018 alone. If you’re looking to tap into this massive audience, the Vydia platform now offers an end to end audio distribution solution to efficiently package and deliver your content to multiple streaming platforms like Spotify, Apple Music, Amazon Music, and more. Check it out:
How To Get Started With Vydia Audio Distribution
Audio distribution is a great way to drive discoverability and exposure for your music while attracting a new audience. In order to get your music on streaming platforms like Spotify and Apple Music, your content must meet delivery specifications. Vydia’s audio distribution workflow is designed to streamline this complex process and ensure your content is properly packaged and delivered on time. To get started, you must complete the following steps:
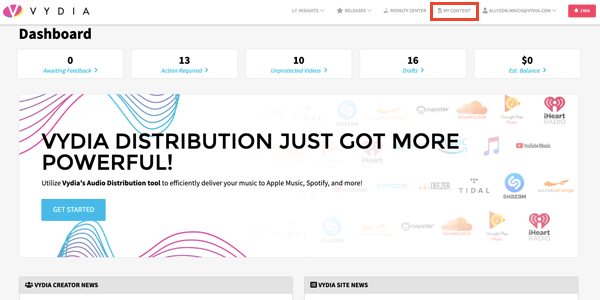
Step 1: Log into your Vydia account and click the ‘My Content’ tab on the top menu bar.
Step 2: Select the blue ‘Upload Content’ button located on the right side of the screen and choose ‘Audio’ as the media type.
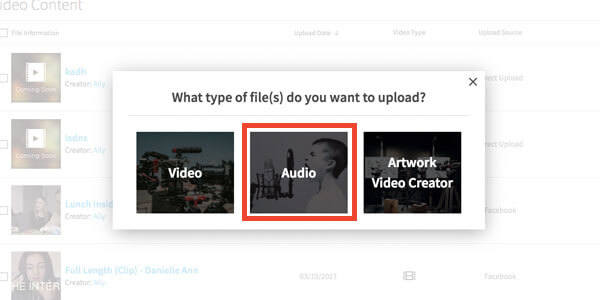
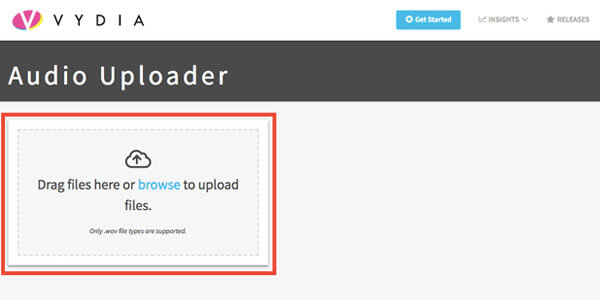
Step 3: Upload your audio file(s).
Please note: Only .wav files are supported for audio distribution.
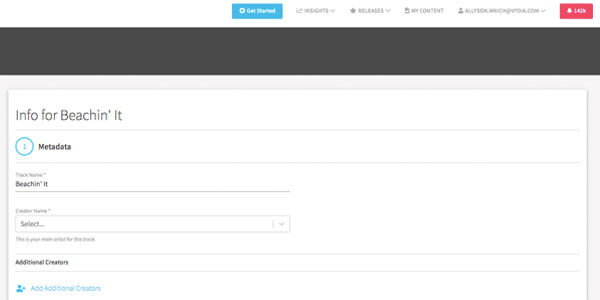
Step 4: Complete the metadata for each track.
The required fields include Track Name, Creator Name, Additional Creators and Role (if applicable), Copyright Name, Copyright Year, Genre, Track Language, and Track ISRC.
- Please note: A “creator” is the main/featured artist or composer on your track.
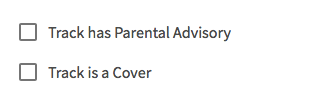
Step 5: Indicate whether the track requires a Parental Advisory or is a Cover song.
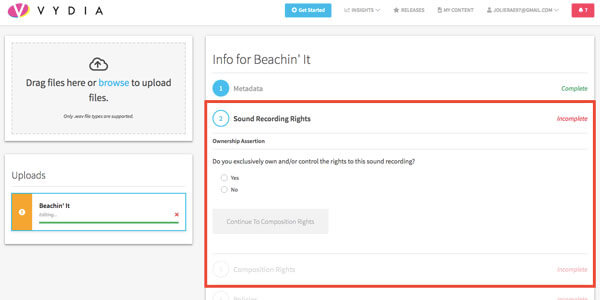
Step 6: Assert ownership of your Sound Recording and Composition rights and designate which territories you maintain control.
- Sound Recording – physical recording of the song.
- Composition– lyrics and melody of that song.
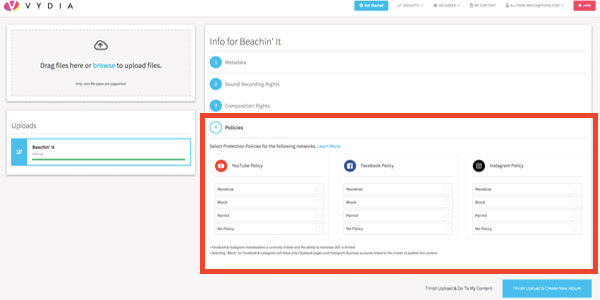
Step 7: Set protection policies for how you would like your copyrighted content handled across YouTube, Facebook, and Instagram.
Pro tip: Not sure what protection policy works best for you? Check out our blog to learn more.
Step 8: Click ‘Finish Upload & Create New Album.’
Step 9: Select the audio files you would like to add to your album tracklist.
Please note: You must control the Sound Recording rights for a track in order to add it to an album for audio distribution.
- Pro tip: Have a specific track order in mind? Drag and drop to reorder the list.

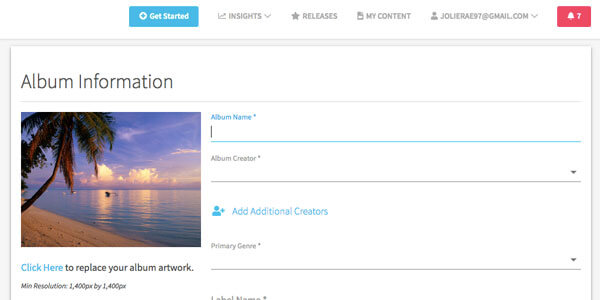
Step 10: Populate the album artwork and metadata.
The required fields include Album Name, Album Creator, Additional Creators and Role (if applicable), Primary Genre, Label Name, Album Copyright Name, Album Copyright Year, UPC, and Album Territories.
- Please note: Your album artwork must have a minimum resolution of 1,400 x 1,400 px.
Step 11: Click ‘Create Album & Distribute.’
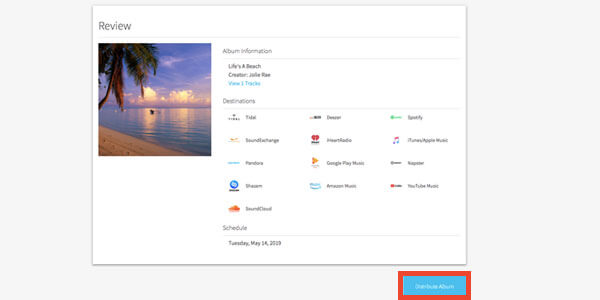
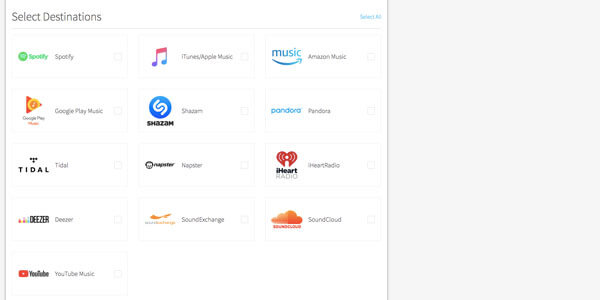
Step 12: Select your audio destination(s).
Step 13: Schedule the time you would like your music to go live.

Step 14: Review and confirm your distribution release.